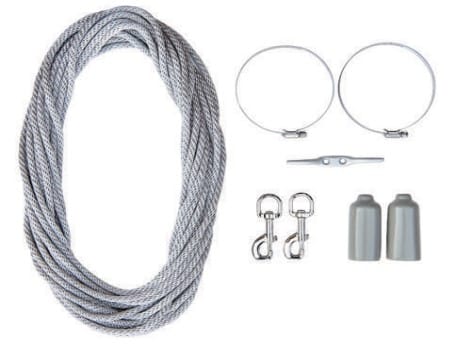
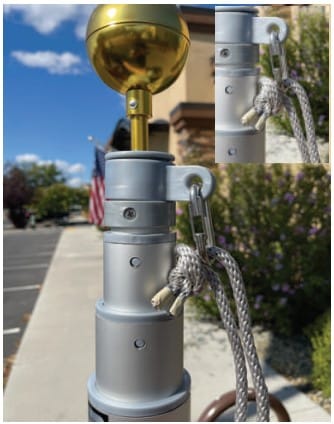
Step 1 – Remove the Spring Clip and Double Swivel Ring (Figure 1).
Step 2 – Remove the Spring Clip and Large (Bottom) Swivel Ring (Figure 2).
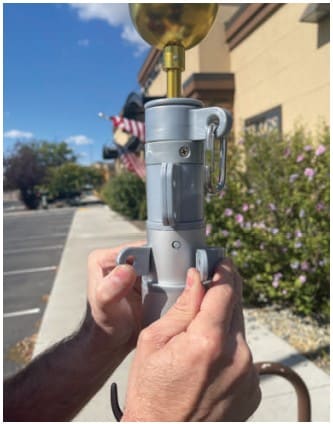
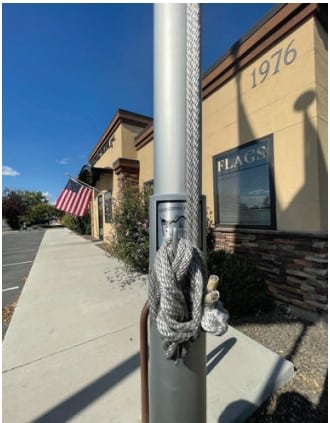
Step 3 – Attach Cleat to base of Titan Telescoping Flagpole using both Clamps provided. The Cleat should be positioned slightly under the sticker on the flagpole (Figure 3).
Figure 4
Figure 5
Figure 6
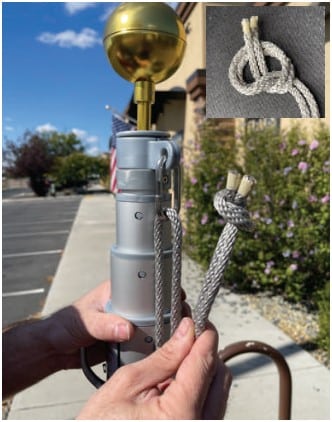
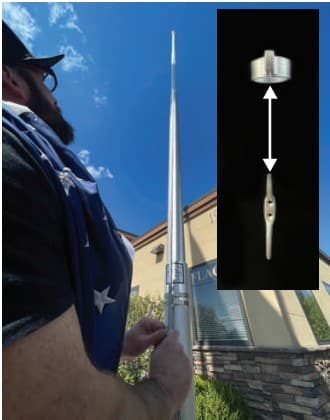
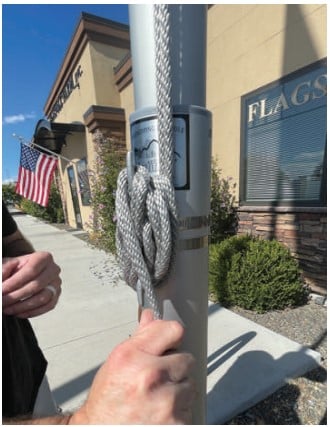
Step 4 – Slide Halyard through Spring Clip and tie each end of Halyard together (Figure 4). Pull Halyard down until knot has reached the Spring Clip (Figure 5).
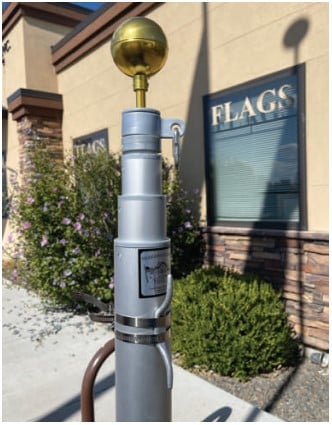
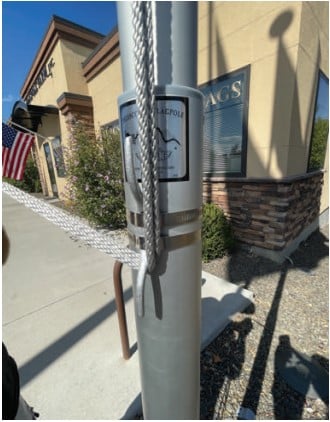
Step 5 – Raise Titan Telescoping Flagpole to full height. Make sure the Top Swivel Ring/Spring Clip are aligned with the Cleat (Figure 6).
Figure 7
Figure 8
Figure 9
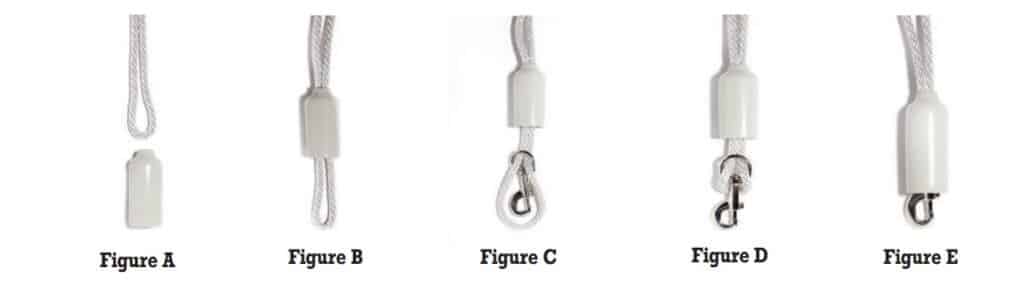
Step 6 – Build connection to top grommet of flag (Figure 7). See diagram below (Figure A – E). First, fold a 6” loop in the Halyard near the bottom of the Haylard (Figure A). Next, thread the loop in the Haylard through the Vinyl Snap Cover (Figure B) and attach to Swivel Snap (Figure C-D). Finally, connect open end of Swivel Snap to the top gromment of flag (Figure E).
Step 7 – Raise flag until bottom grommet is near eye level. Loop Haylard portion closest to the flagpole around the cleat (Figure 8).
Step 8 – Build connection to bottom of grommet of flag. Repeat step 6, except connect open end of Swivel Snap to bottom of grommet of flag .
Figure 10
Figure 11
Figure 12
Step 9 – Raise flag to top height (Figure 9).
Step 10 – Secure Halyard to cleat by pulling Halyard downward tightly and loop around the cleat in a figure 8 pattern (Figure 10 – 12).